View more articles
News
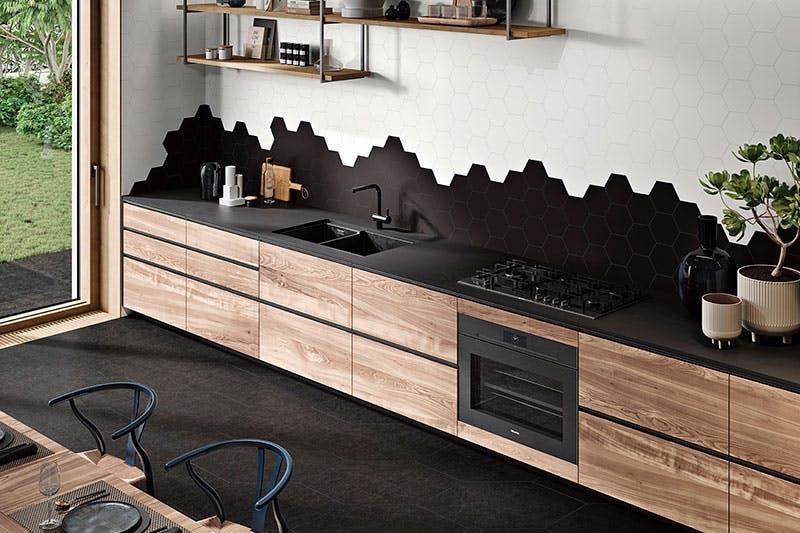
How to tile a kitchen wall
Learn how to tile your kitchen wall step by step.
Renovating a kitchen by laying kitchen tiles will bring the room to life and add value and style to the whole house. This detailed guide will take you through the whole process, from prep to post-installation cleaning. We will uncover some of the secrets of this ancient art.
Preparing kitchen walls
Prepping a wall must not be underestimated. To ensure a successful bond and smooth and perfect finish, the wall must be prepared for tiling.
Wall cleaning
Firstly, remove any residue, grease or dirt on the wall. Clean the surface with quality degreaser, using a cloth or sponge.
Allow the surface to dry completely before moving on. This step is essential to ensure that the adhesive sticks properly to the wall.
Surface inspection
After cleaning, you will need to ensure the wall is level by running a level or baton across it.
Small holes can be filled with plaster and may need light sanding for a smooth finish. Ensure the wall is level, clean and dry before laying the tiles.
Choosing materials and tools
The right materials and tools make the job easier and guarantees long-lasting and visually pleasant finish.
Choosing the right tile
Choosing the right tiles is more than just personal taste. The characteristics of the space, such as natural light intensity, size and the aesthetic language of the house must be assessed.
Take time to explore the range of kitchen tiles available to find the tiles that bring your vision to life.
Tools and materials
Before you start, make sure you have all the necessary materials and tools at hand, i.e. adhesive, spacers, notched trowel, tile cutter, level, sponge and bucket. Having everything ready brings stability to the process and minimises interruptions.
Tile laying
This is when the vision begins to materialise. Complete all the steps to ensure the tiles are level and secure.
Mix the adhesive
Follow manufacturer's instructions to mix the adhesive. The adhesive must be thick enough to stick to the trowel and not run, making it easy to apply. The consistency must be stiff enough to ensure that the tiles stick properly to the wall.
Laying the tiles
Trowel on the adhesive and with the notched edge form even ridges, before laying the first tile firmly on the adhesive, using spacers to separate the tiles evenly. While laying the tiles check level regularly.
Post-installation cleaning
Once all the tiles have been laid and the adhesive has set, the tiles must be cleaned. Remove the spacers and wipe off residue with a damp sponge.
Once all the tiles have been laid, the spaces between the tiles must be filled in with grout. When the grout is dry, any residue needs to be thoroughly removed from the surface to emphasise the natural beauty of the tiles.
Final Observations
Tiling a kitchen wall is a rewarding process that can completely transform a room. Designing a beautiful and functional space requires careful planning, choosing the right tiles and methodical application of the tiles.
For more advice on how to choose and apply ceramic tiles in the kitchen, visit our website and discover our range of tiles we have for you.
Contact us: whatever your vision, we'll make it happen.